Photos

There will be less photos showing up from for awhile.  As part of the OCI's CSart thing all the artificial landscape work I'll be producing through the end of May will be under wraps.  My day job has been exhausting lately so the energy I've had for making work as been focused on work for the CSart show in June.  Not a lot of time or energy for anything else.

I've signed up for Omaha's mini maker fair so if you want an excuse to come see my 3D prints in person you have one now.  More information that later.

Photos

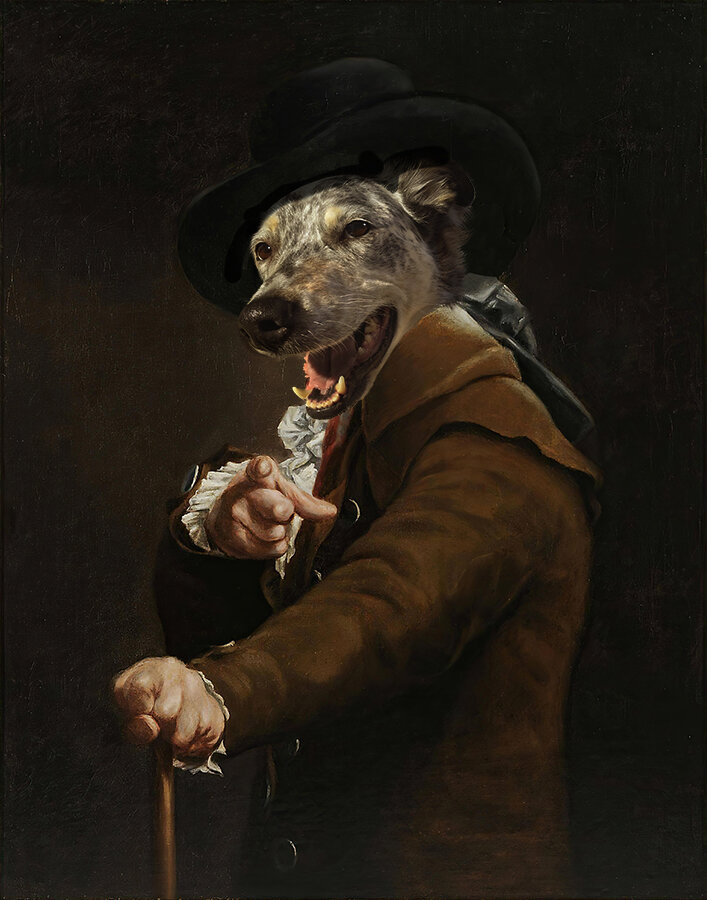
Here are finalized versions of both of these.  It's nice to have them done 'done' and I will be dropping them off at Gallery 72 soon.  I have no idea when I'll put them in a final show.  The head is about perfect as is.  The texturing on the base is accidental.  The mold release ended up doing strange things as it solidified.  The base is also vaguely ferrous.  I used iron shavings to color it black assuming that I could get a very superficial rust with a delightful matte black.  The color and tonality with light on it is pretty stellar but no rust effect.  However the strange texturing more than trumps any loss of the rest effect.

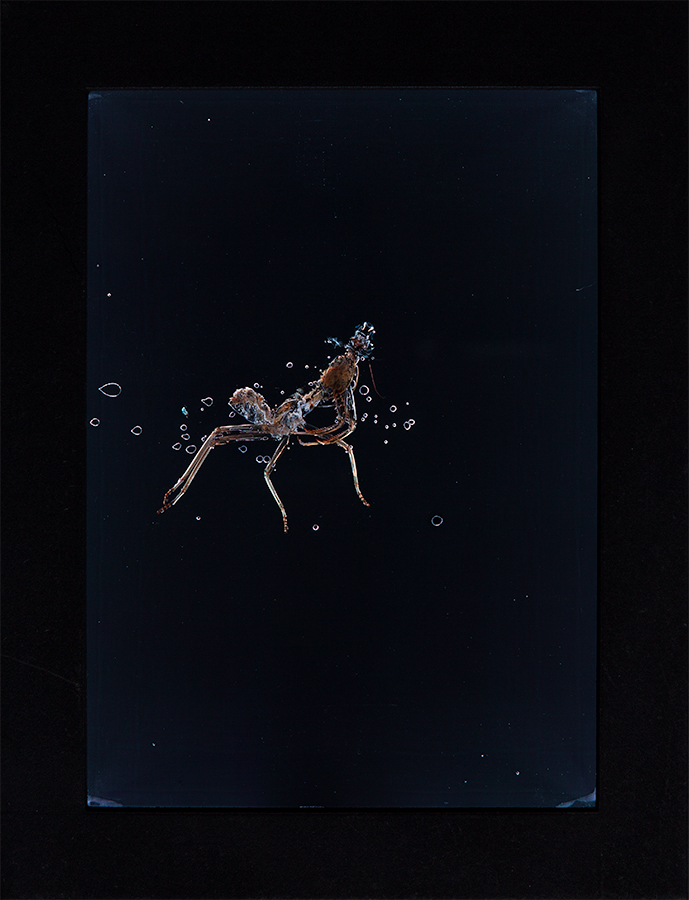
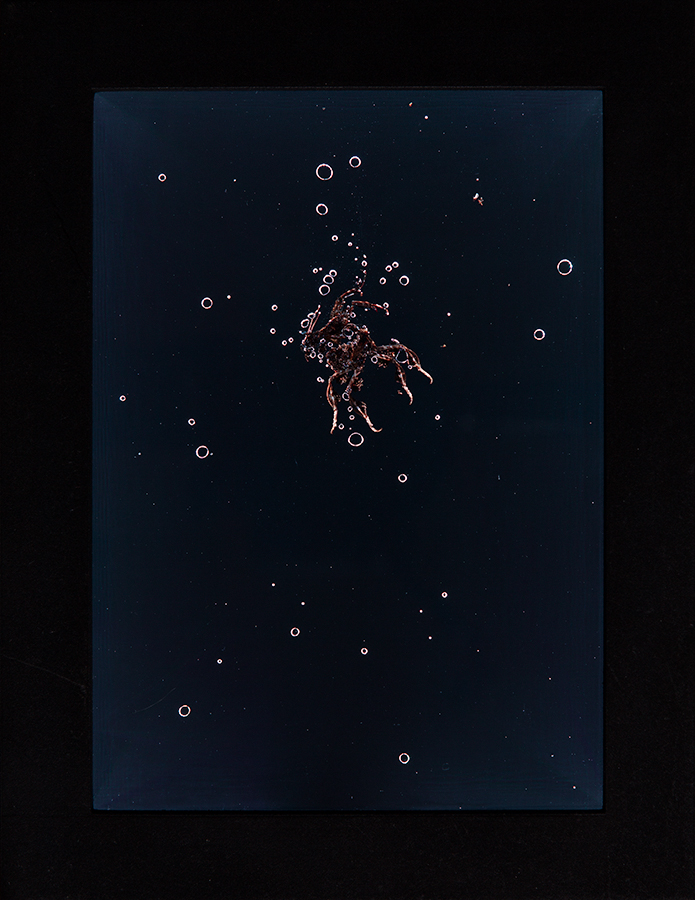
The mantis scan is a new version of the scan.  It's the same photos but ran through a much stronger program from agisoft that produced a far better base model.  There was still extensive clean up (holes in the head and shield area, fill under the arms, etc) but still way more detailed than what I got out of recap with the same base photos.  Model is 11.5" tall.  I would prefer larger but cost becomes prohibitive as it would force me to use someone other than DoSpace.  Even after literally doubling their prices they are still the people to go for getting stuff printed at a reasonable price.  It was printed hollow and then filled with resign to give it some proper weight.

Mounted Mantis Skin

Finally have finished version of the frame and skin for an eventual mantis show.  The process has been surprisingly difficult and times quite cost prohibitive.  The hardest part was finding someone willing to wet mount two sheets of plexi together but Michael at Paragon Frames in San Francisco eventually agreed to do it after six or so no's from other places.

So it's mounted between two sheets, 1/4 and 1/2 in sheets if I recall correctly.  I had him experimented with using Optium from tru-view but it wouldn't glue doesn't polish well at all.  It's a shame, Optium is an amazing glazing medium.  The top layer should be a UV grade plexi so the piece should be protected from fading as a result of ambient (it yet to be seen what long time usage of the LEDs will do).  The first two skins I also had mounted a layer of black plexi but due to corner issues I ended up painting this one instead of adding the third layer of plexi and then modifying the frame design to better hold the mounted skin place by putting in a slight recession into the back plate.

The next obstacle was the frame.  Some how that was done is covered here in an instructable I wrote for submitting the Autodesk AIR http://www.instructables.com/id/Lightup-Frame/.  The main difference now is printing the back plate with the recession to hold the mounted skin and extending down the inner lip some to compensate.  I also chromed the inside of the frame but it didn't really add much to the light output.  The finish was achieved by several hours of sanding and then careful misting with acetone.  I ended up doing the finish twice because the first version of the patina was far too bright.

The next difficulty will be designing a more discrete or visually meaningful control box.  More on that later.

The skin is from this girl.  It was her last shed.